Tempering Chocolate: A Guide to Achieving Perfectly Smooth and Shiny Results
Tempering chocolate is a crucial process in creating beautiful and delicious chocolate treats. Whether you are a professional chocolatier or a home baker, mastering the art of tempering chocolate will elevate your creations to a whole new level. In this article, we will explore what tempering chocolate is, why it is important, and how to temper chocolate like a pro.
What is Tempering Chocolate?
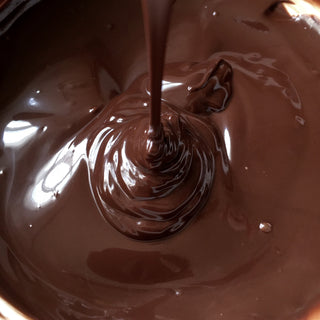
Tempering chocolate is the process of heating and cooling chocolate to specific temperatures, resulting in a stable crystal structure. This process ensures that the chocolate has a smooth texture, glossy appearance, and a satisfying snap when bitten into.
Why is Tempering Chocolate Important?
Tempering chocolate is important for several reasons:
- Appearance: Tempered chocolate has a shiny, professional-looking finish, making it visually appealing.
- Texture: Properly tempered chocolate has a smooth and velvety texture, melting effortlessly in your mouth.
- Stability: Tempering ensures that the chocolate remains stable at room temperature, preventing it from melting or developing a dull, grayish appearance.
How to Temper Chocolate
While there are various methods to temper chocolate, the most common technique involves the following steps:
- Chop the chocolate: Start by chopping the chocolate into small, uniform pieces. This will help it melt evenly.
- Melt the chocolate: Place two-thirds of the chopped chocolate in a heatproof bowl set over a pan of simmering water. Stir the chocolate gently until it reaches a temperature of around 45°C (113°F) for dark chocolate or 43°C (110°F) for milk or white chocolate.
- Cool the chocolate: Remove the bowl from heat and add the remaining one-third of chopped chocolate. Stir continuously until all the chocolate has melted and the temperature has dropped to around 32°C (90°F) for dark chocolate or 30°C (86°F) for milk or white chocolate.
- Reheat if necessary: If the chocolate hasn't fully melted or the temperature has dropped too much, gently reheat it for a few seconds at a time, stirring constantly.
- Test the chocolate: To ensure the chocolate is properly tempered, dip a spoon or a small piece of parchment paper into the chocolate and allow it to set. It should have a shiny appearance and a firm texture.
- Use the tempered chocolate: Once the chocolate is properly tempered, it is ready to be used for coating, dipping, or molding.
Remember, practice makes perfect when it comes to tempering chocolate. Don't get discouraged if your first attempts are not flawless. With time and experience, you will become a master at tempering chocolate and delight your friends and family with stunning chocolate creations.
Now that you know the basics of tempering chocolate, it's time to roll up your sleeves and start experimenting. Get creative and have fun as you unlock the true potential of chocolate through the art of tempering!